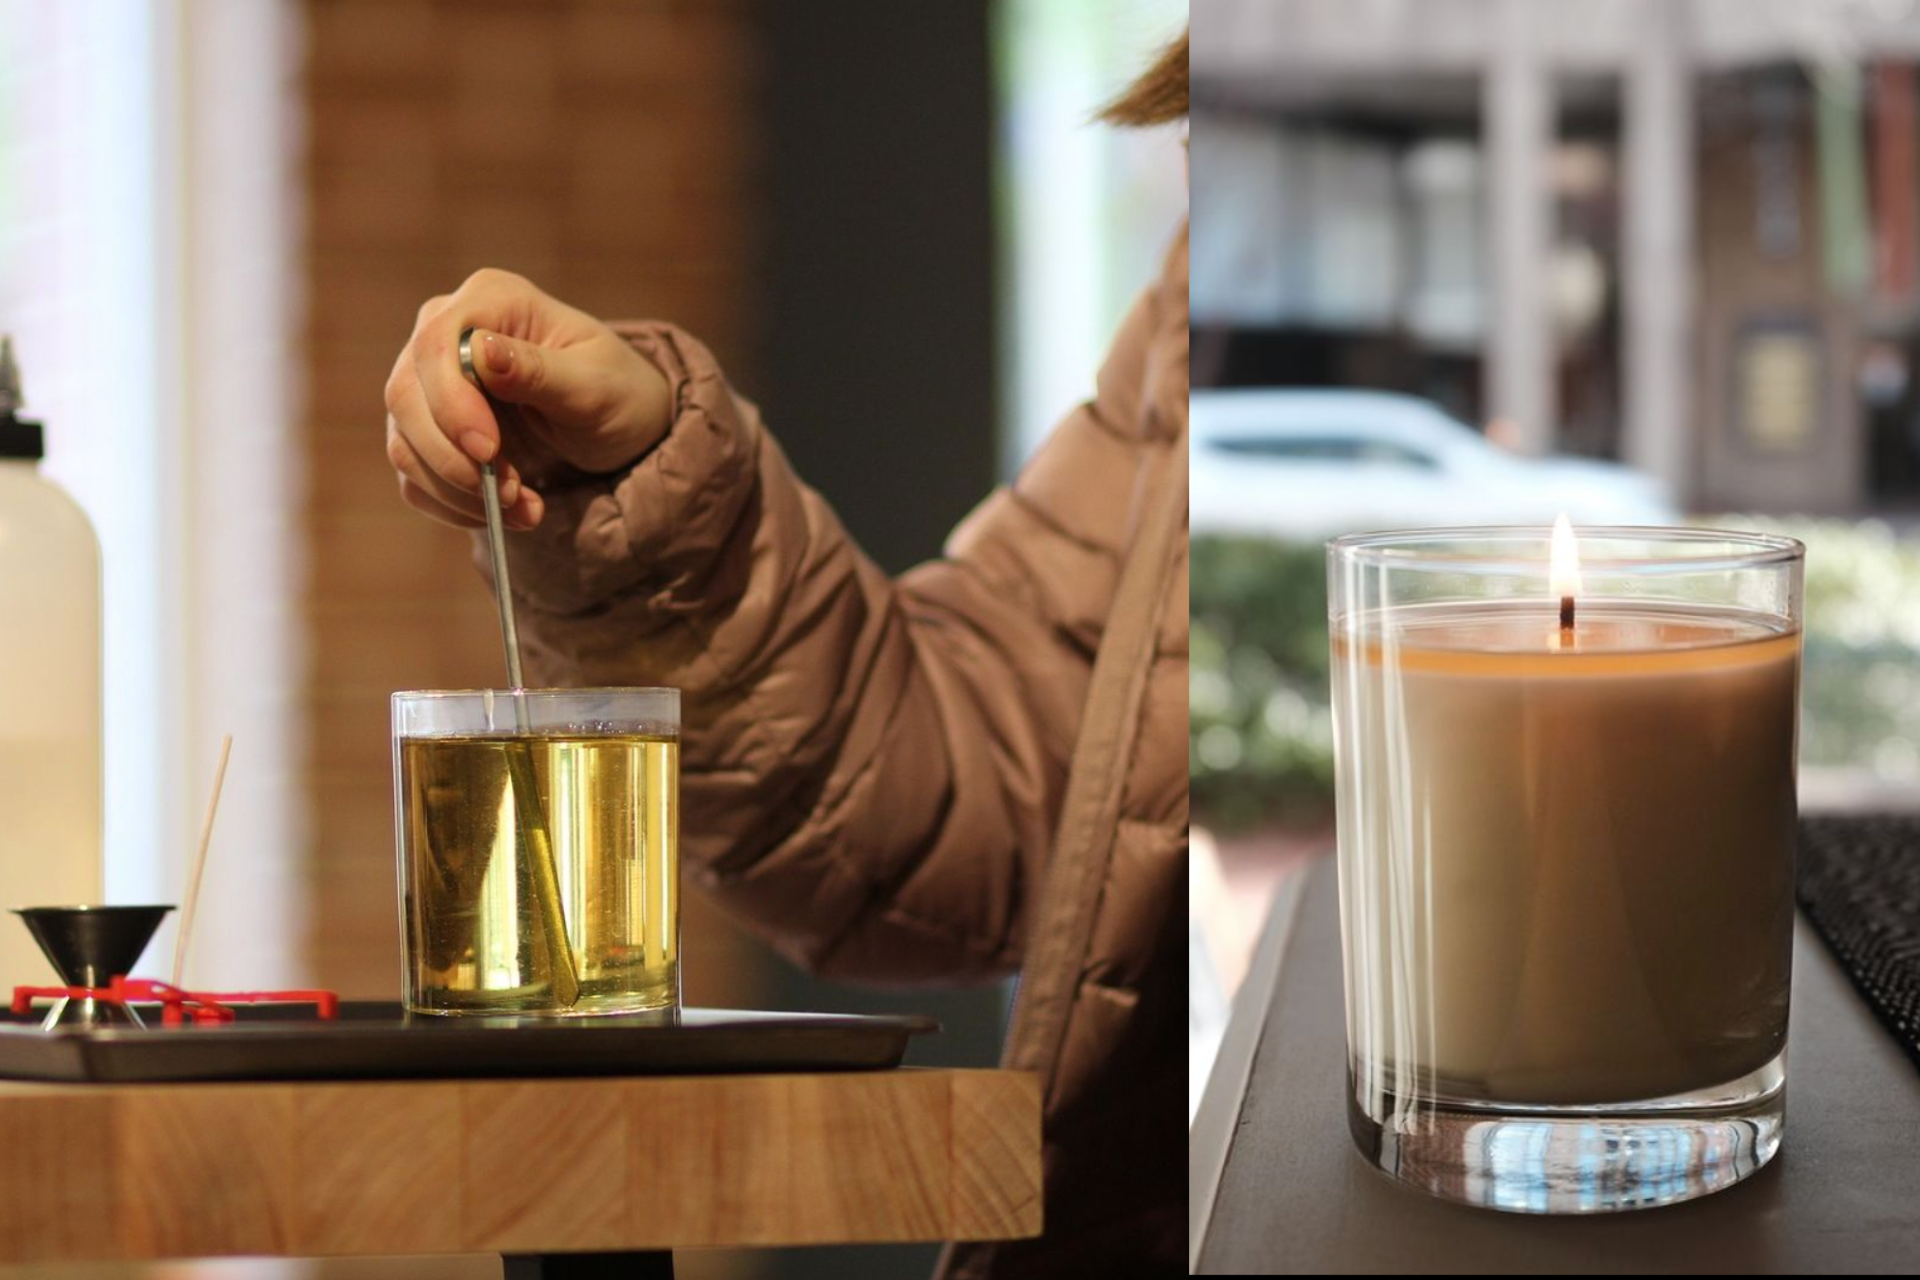
So you want to make candles at home, and you need a few tips to help take your craft up a notch? These 15 candle making tips and tricks will provide insight into everything from choosing the right wax and wick size to troubleshooting common problems (like tunneling).
Looking for candle making tips for kids?
15 Candle Making Tips And Tricks From A Pro
Maybe this is your first time pouring handmade candles, and you're a regular "type-A" looking to get it perfect the first time. Or perhaps you picked up candle making while you were stuck at home in 2020 and realized how much fun it can be (we're with you on that one!)

Either way, brushing up on the industry's top candle-making tips as you sharpen your craft is always a good idea. Here are our favorite handmade candle making tips for beginners and wax-pouring aficionados alike.
Tip #1 - Don't panic if you mess up.
We picked this one first for a reason—making the perfect candle on your first try is unrealistic. But don't sweat it if your first crack at candle making doesn't set the world on fire.
Even the most brilliant artisans started somewhere, and setbacks are part of the game. So think of those less-than-perfect candle batches as your personal crash course in candle chemistry.

Tip #2 - Clean your container with soapy water before use.
This is one of the more simple tips and tricks for making candles, but it’s super effective. If you've ever made a candle before, you might have experienced what looks like "wet spots" on the side of your glass jar.
The presence of "wet spots" on candles is not due to actual moisture but is caused by shrinkage and air bubbles during the wax cooling process. To minimize this issue, clean the candle container before use.
Check out these ideas for unique candle vessels if you’re tired of glass jars!
Tip #3 - Track techniques in a candle journal.
Each time you make a new candle, you're experimenting. Keeping a candle journal is your secret weapon for tracking your triumphs and learning from those "oops" moments.
Scribble down the nitty-gritty details like dates, times, and the combination of wax melts and formulas you concocted. Also, note the percentage of fragrance oils, types of wicks, glass sizes, and molds you used. You'll be glad you did—tracking this data can save you serious time and money.

Tip #4 - Ignore the temptation to add extra "stuff" into the mix.
While the idea of adding extras like dried flowers or little rocks to your candles may be tempting, we don't recommend it. Adding extras to your candles can impact the overall burn and safety of the candle.

Materials such as dried flowers or rocks may pose a fire hazard. This is especially true if they come into direct contact with the flame.
Additionally, certain materials may release volatile substances when exposed to heat, compromising the air quality when the candle is burned. That means unpleasant odors—or even health risks.
Tip #5 - Know thy candle wax.
There are 60+ types of wax commonly used to make candles, each with unique properties and melting points. Of the bunch, we suggest using non-toxic, vegan soy wax to create healthier, natural soy candles.
It has a lower melting point, allowing it to gracefully transform into liquid gold and ensuring a smooth and hassle-free experience. In addition, it's a true champion in the realm of cleanliness, producing minimal soot and keeping the air fresh and pure. Plus, it's got a hell of a scent throw.

Tip #6 - Steer clear of paraffin wax.
Paraffin wax has long been celebrated for its remarkable ability to fill a room with captivating scents. However, in today's candle-making landscape, some artisans veer away from its use, citing concerns about potential carcinogenic properties.
Although the CDC does not classify paraffin wax as toxic (yet), the fumes it releases can be bothersome to the eyes, skin, and respiratory system.
Wondering what the difference is between paraffin wax vs soy wax?
Tip #7 - Pick the right candle wick.
Each wax has its own personality, and a compatible wick ensures a harmonious relationship. Our favorites are wooden wicks (ideal if you're on a budget) and cotton wicks (also budget-friendly and perfect for burning outdoors).
Consider the size of your candle, too. A large candle demands a robust size wick, or even two wicks, while a smaller candle needs a more delicate wick size.
Learn more about candle wicks!

Tip #8 - Choose fragrances that jive with your wax.
Making scented candles can be challenging. Certain fragrance oils possess inherent strength, requiring only a small amount to impart a delightful aroma. On the other hand, some fragrance oils may necessitate a higher quantity yet fail to deliver the same level of intensity as their counterparts.
Remember to choose oils specifically formulated for candle-making, ensuring optimal performance. Do a few experiments with varying fragrance oil percentages, pour temperatures, cure time, and other factors to test your candle's hot throw (hot throw is the smell a finished candle gives off when lit).
Tip #9 - Pour your fragrance at just the right time.
As your wax reaches the appropriate temperature, carefully pour in the desired amount of fragrance oil. Check the notes from your wax manufacturer to determine the best temperature, as too high a temperature could cause the wax to combust. The recommended ratio is typically 6-10% fragrance oil per pound of wax.

However, always refer to the specific guidelines provided by the oil manufacturer for accurate measurements. Be sure to stir the wax and fragrance oil blend gently to distribute the fragrance evenly throughout the wax.
Tip #10 - Give your candle enough time to cure.
Tempting as it may be to light your new creation up right away, don't do it. Allow the candle to cure for at least 24-48 hours before lighting it. This curing period allows the fragrance to fully develop and infuse into the wax, enhancing the hot and cold scent throw during burning.
Tip #11 - Poke your candle to prevent tunneling.
Poking isn't just for Facebook (remember how annoying that was?)
It also helps candles avoid the dreaded "tunneling" effect. Tunneling occurs when the wax burns down the center of the candle, leaving a thick wall of unburned wax along the edges.
Removing air pockets with these relief holes makes your candle more tightly packed, ensuring an even and consistent burn. Grab a trusty skewer or chopstick and delicately puncture relief holes around the wick before pouring each layer of wax.
Tip #12 - Use putty to hold down your wick.
One crucial step that beginner candle makers often overlook is anchoring their wicks. While the metal tabs at the end of the wick prevent it from being pulled out, they do not guarantee its stability.

To ensure your wick stays in place throughout the candle-making process, it is essential to anchor it at both the top and bottom of the mold. A helpful tip is to use putty or sticky tack to firmly secure the wick in order to prevent potential mishaps.
Tip #13 - Use a blow dryer to smooth out the surface.
Picture this: you've just crafted a stunning candle, but alas, bubbles and uneven edges mar its surface. There's no need to start from scratch or painstakingly scrape away imperfections.
Instead, grab your trusty blow dryer and set it to the lowest setting. Then, with gentle circular motions, apply the warm airflow to the top of your candle. Witness the magic unfold as the heat delicately melts the surface layer, only to cool and reveal a smooth and pristine finish.
Tip #14 - Maintain thermodynamic control.
Temperature control is everything when it comes to candle making. Maintain a room temperature of 70-72°F throughout the candle making process and preheat glassware to ensure the wax doesn't experience a drastic temperature shift when poured.
Even the type of glass you use can affect the temperature of the wax, so use consistent glass thickness and space candles appropriately while cooling. Finally, be sure to use a wire rack instead of a flat surface for even cooling.
Tip #15 - Patience isn't just a virtue—it's also a technique.
This is the most important of all the tips and tricks for candle making. Crafting a beautiful, high-quality candle is like a slow dance between art and science. Each step requires attention and precision, from selecting the right materials to perfecting the scent and achieving the desired color.
From incorrect measurements to uneven pouring or improper cooling, rushing can result in flawed candles. However, by taking your time and following the process step-by-step, you minimize errors and maximize the chances of success.
Candle Making Frequently Asked Questions
What is the secret to making candles?
The secret lies in finding the perfect balance of wax, fragrance, and wick. Experiment, test, and refine your formula until you achieve candle-making bliss.
What not to do when making candles?
Avoid rushing the process. Don't overheat the wax, neglect wick centering, or skimp on safety measures. Instead, take your time, follow instructions, and enjoy the creative journey.
How do you make candles smell stronger when making candles?
To enhance the fragrance, consider adjusting the fragrance oil percentage or letting your candles cure longer. Sometimes, the problem lies within the mixture of scent oils and wax types, so try out some different combinations of materials—experimentation is vital to finding your desired scent strength.
What is the difference between hot throw vs cold throw?
Hot throw refers to the fragrance emitted when the candle is lit, filling the room with scent. Cold throw pertains to the fragrance when the candle is unlit. Both are important for a well-rounded aromatic experience.
Ready To Put These Candle Making Tips & Tricks To Use?
Are you in or around the Kalamazoo, MI area? Stop by and enjoy our Make Your Own Candle experience and save yourself the hassle of buying materials and cleaning up the mess. We’ll even give you some more tips for candle making while you’re here.
Prefer to stay home? You can always begin your journey with a DIY Sand Candle Kit, which comes complete with wax, wicks, and mason jars. We love these candle making kits because they're easy, fun, and kid-friendly!


