If you've ever had the misfortune of spilling hot wax on your clothing or any surface, you're well aware of the Herculean effort it takes to get it off.
That experience might lead you to think that cleaning out those used-up candle containers, with their stubborn wax remnants and residue, is a task of similar difficulty.
But guess what? It's easier than you might think! Here's a surprisingly easy method for wax removal so you can reuse candle jars for new candles.

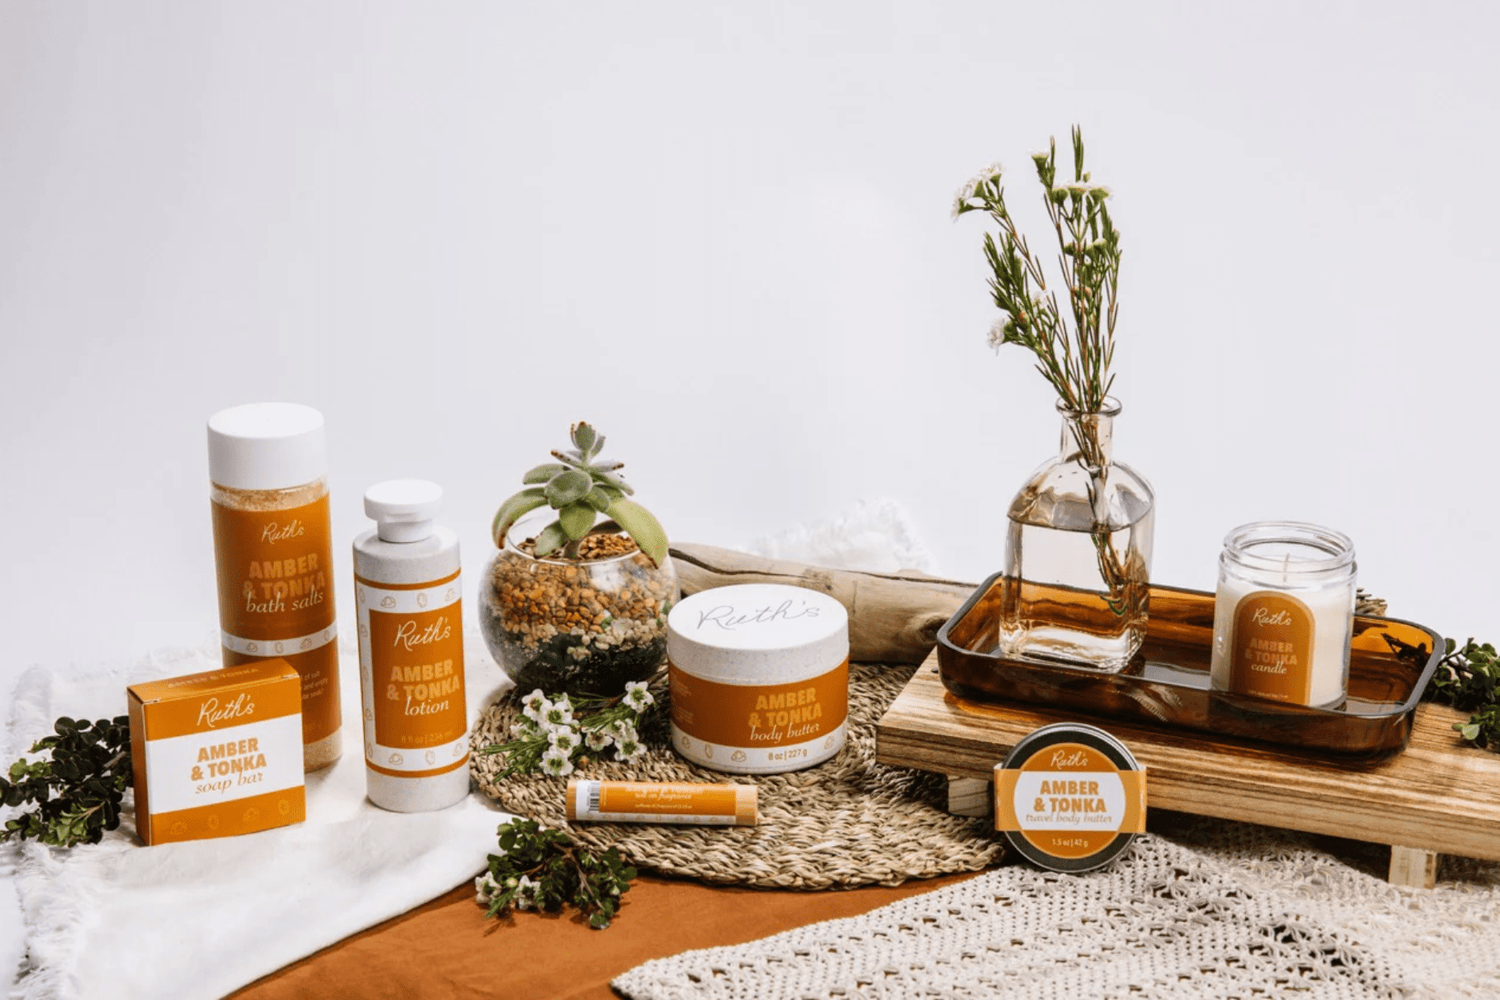
Benefits Of Reusing Candle Jars For New Candles
Reusing old candle containers is environmentally friendly.
Why should you even bother reusing those old candle jars? First off, it's a fantastic way to reduce waste. Instead of tossing them in the trash, you give these glass candle jars a second life.
Otherwise, you're contributing to the 7.6 million tons of glass dumped in landfills yearly.
Every candle container you repurpose is one less item in a landfill—you're actively reducing waste and minimizing your environmental footprint. It's a simple act, but when multiplied by many, it can have a significant positive effect on our planet.
Reusing candle jars for new candles helps save money.
Plus, why buy new containers when you have perfectly good ones at home?
Candle jars are often made of high-quality glass or ceramic—materials that are too good to be thrown away. Their durability makes them perfect for various uses, from new candles to storage containers or decorative pieces.
Reusing candle jars for new candles or other purposes also saves money. It's an economical choice that adds up over time, especially for those who love to keep their homes cozy and fragrant with candles.
Everything You Need For Candle Jar Wax Removal
The good news is that you probably already have most of these items at home. Here's a simple list to get you started:
- A Butter Knife or Spoon - This will be your go-to tool for gently scooping out the larger chunks of leftover wax. It's all about being gentle to avoid scratching the glass jar.
- Boiling Water - Nature's best wax remover! Hot water will soften and melt the remaining wax, making it easier to wipe away.
- Dish Soap and Sponge - After the wax is out, a good old-fashioned scrub with dish soap, hot water, and a sponge (or paper towel) will do wonders. It's about getting that jar sparkling clean and ready for its next life.
- Rubbing Alcohol or Vinegar - For that stubborn sticky residue from labels or lingering candle wax, a dab of rubbing alcohol or vinegar on a cotton ball works like a charm. It's the secret ingredient for a residue-free finish.
-
Your Empty Candle Jars - Last but certainly not least, gather all those empty jars you've been saving. Each one holds the potential for a new, beautiful creation.

How To Remove Wax From Candle Jars: Step-By-Step
You might think this is where things get tricky, but with our straightforward method, you'll be pleasantly surprised at how simple it can be.
Here's a step-by-step breakdown to ensure you get every last bit of candle wax out, leaving your jars clean and ready for their new purpose:
Step 1 - Start with the big pieces.
Use your butter knife or spoon to gently pry out the larger wax chunks. This isn't about force; a little gentle persuasion is all you need. You'll want to remove as much of the solid wax as possible before moving on to the next step.
Step 2 - The boiling water technique.
Pour boiling water (carefully) into the unique candle vessel you want to reuse, leaving a little space at the top. The boiling water will melt off the rest of the wax sticking to the glass, and as the warm water cools, that wax will float to the top of the jar and reform into a solid state.
Once the wax hardens on the surface, removing it will be easy.
Step 3 - Wipe and scrub.
After removing the hardened wax, it's time to tackle any residue. A sponge with some dish soap will work wonders here. Give the jar a good scrub with soapy water, making sure to reach all the nooks and crannies.
Step 4 - Deal with residue.
If you encounter any stubborn wax residue or adhesive from labels, this is where rubbing alcohol or vinegar comes into play. Apply a small amount onto a cloth or cotton pad and gently rub the affected area. This should take care of any lingering stickiness.
Step 5 - Rinse and dry your jar.
Finally, rinse the jar thoroughly with warm water to remove any soap or alcohol residue. Dry it with a clean towel or let it air dry. Voilà! Your candle jar is now clean, clear, and ready for its next adventure.
Make New Candles Out Of Old Candle Jars
Now that you have these sparkling clean jars, the real fun begins. It's time to unleash your creativity and give these jars a brand-new purpose. Your beautifully transformed jars are now ready for making your own candles.
Gather your candle making supplies.
- Old candles or leftover wax pieces.
- A double boiler or a makeshift one (a large pot and a smaller pot or heat-safe bowl).
- Candle wicks (pre-waxed wicks with tabs are easier to use).
- A thermometer (optional but helpful for monitoring wax temperature).
- Containers for your new candles (this can be your repurposed candle jars).
- Stirring utensils (a wooden spoon or a spatula).
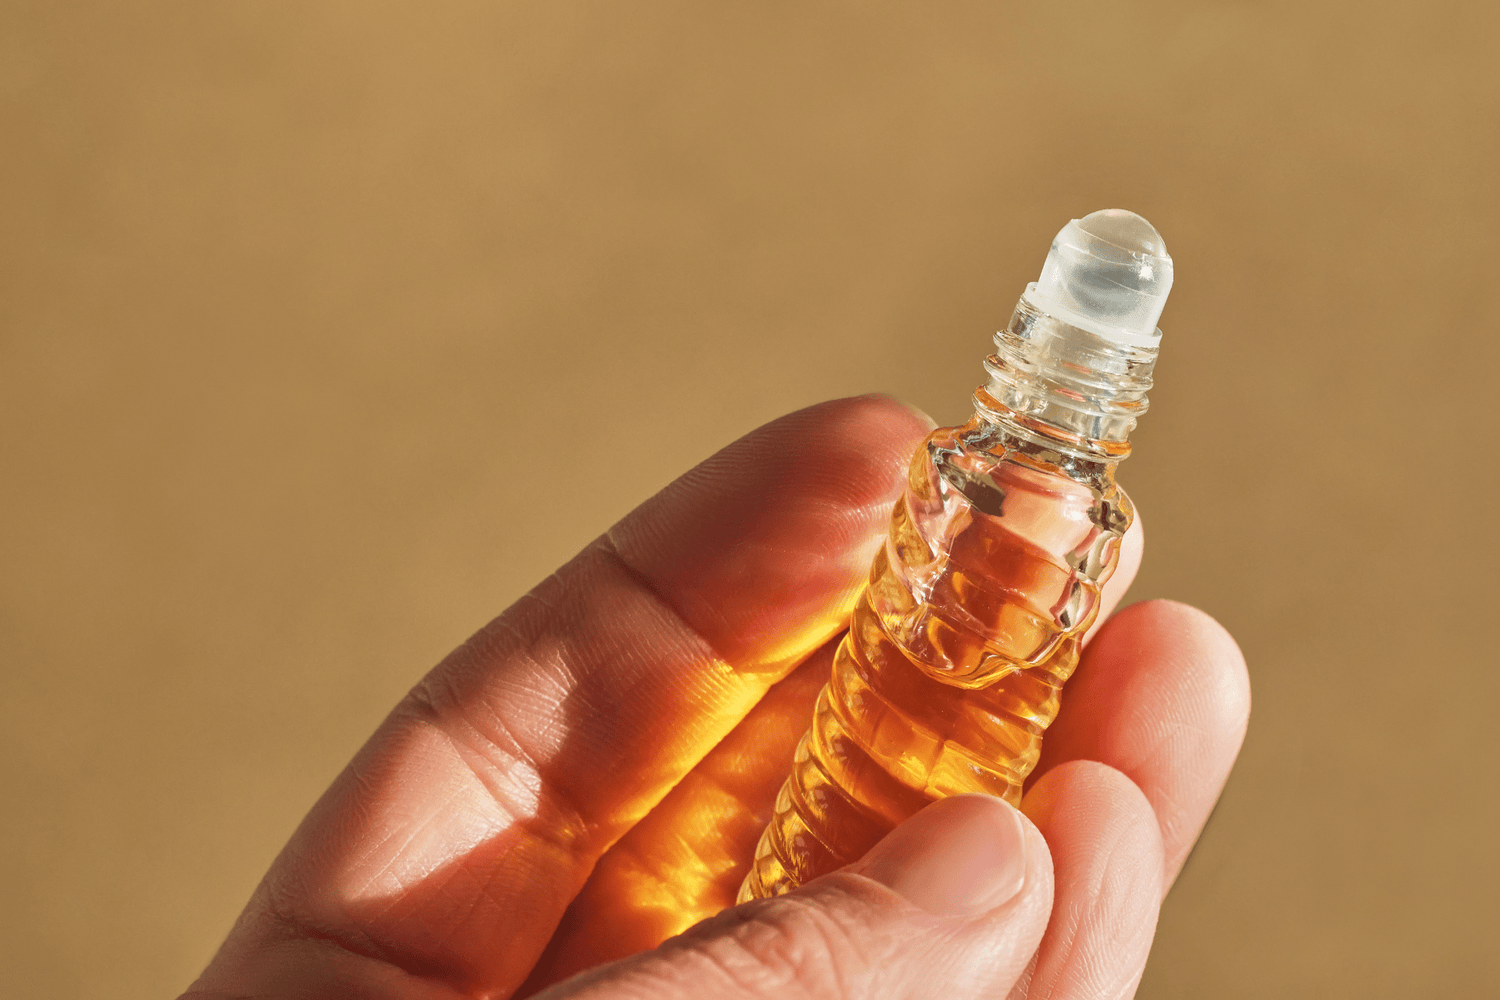
- Fragrance oils or essential oils (optional, for scented candles).

Prepare your containers.
Ensure your containers are clean, dry, and free of any old wax or residue. Attach the wick to the bottom of the container. You can use a bit of melted wax or a wick sticker to secure the wick tab in place.
To keep the wick centered and upright, you can wrap the top part of the wick around a pencil or skewer and rest it on top of the container.
Melt the wax.
Break or cut your old candles into smaller pieces to help them melt evenly. Fill the bottom of your double boiler with water and place it on the stove over medium heat.
Put the wax pieces in the top part of the double boiler or in the heat-safe bowl. Allow the wax to melt slowly, stirring occasionally. If you're using a thermometer, most waxes melt at around 160-180°F (70-80°C).
Add fragrance and color, if desired.
Once the wax is melted, you can add fragrance or essential oils for scent. A general guideline is about 1 ounce of fragrance per pound of wax, but you can adjust it based on your preference. If you want colored candles, add your colorant and stir until the color is evenly distributed.
Pour the wax.
Let the wax cool slightly before pouring. A suitable pouring temperature is typically around 130-140°F (55-60°C), but this can vary depending on the type of wax.
Torn between soy vs paraffin wax?
Carefully pour the melted wax into your prepared containers. Fill them to the desired level, but leave some space at the top.
Securing the wick.
After pouring, ensure the wick is still centered and upright. Adjust if necessary. Let the wax cool and solidify completely. This can take several hours. Avoid moving the candles during this time.
Put on the finishing touches.
Once the wax is solid, trim the wick to about 1/4 inch above the wax surface. If the surface of your candle is uneven or if your candle has a sinkhole, you can do a second pour with a little more melted wax to even it out. This step also helps prevent candle tunneling later on.
Let your candle cure.
It's recommended to let your candles cure for a few days before using them. This allows the scent to properly infuse into the wax, resulting in a better-smelling candle.
Looking For More DIY Candle Projects? Try Easy Sand Candle Kits!
Are you hooked on the joy and creativity of candle making? If you're eager to explore more unique DIY candle projects, then you'll love the simplicity and charm of sand candle kits.