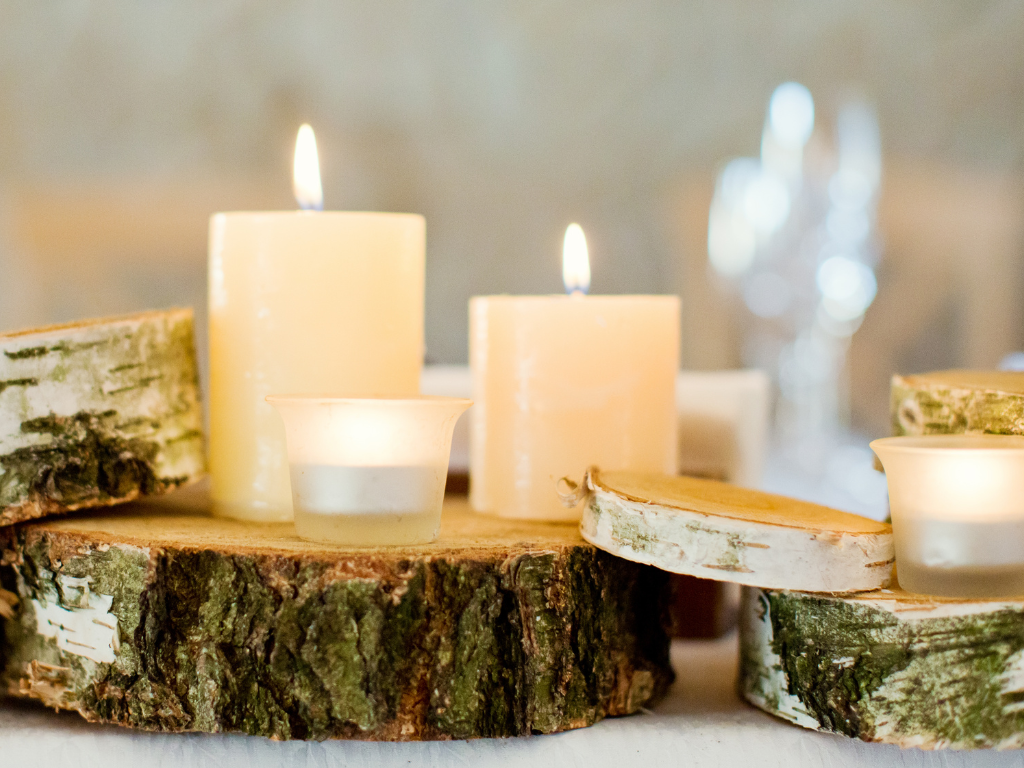
You just unboxed your newest candle and can't wait to light it up. But before you know it, a few hours pass, and it's already burned down to the nub. Why do some candles seem to vanish in a blink while others linger for ages?
Is there a way to extend the life of your cherished candles?
Dive into our candle burn time chart and discover our top tips and tricks for making your candles last longer—no matter what type of wax they're made of.
Why Does Candle Burn Time Matter?
Understanding why candle burn time matters is vital to getting the most out of your candle.
Firstly, it's about economics – a longer-lasting candle means more bang for your buck. You invest in these little luxuries to enhance your space, so naturally, you want them to last!
Second, the longevity of a candle directly impacts its fragrance throw. A candle that burns longer fills your room with its delightful scent for more hours.
Finally, and most importantly, is safety. Knowing how long your candle will burn helps in planning and ensures you don't leave candles burning unattended (a big no-no!)
Understanding Our Candle Burn Time Chart
What is a candle burn time chart?
A candle burn time chart is an essential tool for candle enthusiasts. It's a guide that outlines how long you can expect a candle to burn based on its size and the type of wax used.
This chart is handy when you're trying to gauge the longevity of your candles, whether for ambiance, fragrance, or practical purposes. It helps you plan your usage, ensuring you get the most out of each candle.
Remember, these are average estimates. Factors like candle wick size, fragrance oils, dye, and even the burning environment can cause variations in burn times.
Note: Use this chart as a general guide and refer to any specific burning instructions provided by the candle manufacturer for the best experience.

Types of candles and their burn time
- Tea Light Candle: Ideal for short periods of 2-5 hours, often used in multiples.
- Votive Candle: Slightly larger than tea lights, these burn for 7-15 hours depending on conditions and are suitable for short to medium durations.
- Pillar Candle: Freestanding, larger candles are excellent for extended burning up to 60 hours.
- Taper Candle: Tall and slender, commonly used for dining or decorative purposes, burns about one inch per hour (8-12 hours is standard).
- Container Candle/Jar Candle: Encased in a container, varying sizes, widely used in homes, can burn for as long as 100 hours if large with multiple wicks.
How Do You Calculate Candle Burn Time?
Understanding how to calculate the burn time of a candle can enhance your candle-using experience, allowing for better planning and enjoyment. Here are some key concepts and methods:
Hours Per Ounce
Using the 'hours per ounce' method is a straightforward way to estimate burn time. This approach considers the amount of wax in the candle and the average burn time per ounce of that specific wax type.
For instance, if a soy wax candle weighs 8 ounces and soy wax typically burns for about 7 hours per ounce, the estimated burn time would be 56 hours (8 ounces x 7 hours/ounce).
Melt Pool
The melt pool is another critical factor in determining burn time. It refers to the layer of liquid wax formed around the wick when the candle burns.
A well-made candle should achieve a full melt pool, where the wax melts evenly to the edges within the first few hours of burning. The depth of the melt pool can indicate how efficiently the candle burns.
A deeper melt pool means more wax is being consumed quickly, potentially reducing the overall burn time.
A More Precise Formula To Estimate Burn Time
While the 'hours per ounce' method provides a general estimate, you can also use a more hands-on approach to calculate burn time:
- Initial Weighing: Weigh your candle before the first burn.
- Burn for a Set Time: Light the candle and let it burn for a few hours. It's best to allow it to reach a full melt pool.
- Weigh Again: Extinguish the candle flame safely aSoy Wax
- nd let the wax solidify. Weigh the candle again.
- Calculate Wax Consumption: Subtract the post-burn weight from the pre-burn weight to determine how much wax was consumed.
- Estimate Total Burn Time: Divide the total amount of wax in the candle by the amount consumed in your test burn. Multiply this by the number of hours you burned the candle to estimate the total burn time.
For example, if a 10-ounce candle loses 1 ounce of wax in 4 hours, its total burn time would be approximately 40 hours (10 ounces / 1 ounce per 4 hours).
These estimations can vary based on several factors, including the candle's environment and construction. Always follow safety guidelines and manufacturer instructions for the best candle-burning experience.
This handy candle burn time calculator tool might be useful!
Factors Affecting Candle Burn Time

While the candle burn time chart provides a helpful guide, several factors can influence how long your candle actually lasts. Understanding these can help you optimize burn time and enjoy your candles to the fullest.
Candle Size
Generally, larger candles have a longer burn time due to the greater amount of wax. However, the shape and volume of the candle also play a role.
Wax Weight
Heavier candles, which contain more wax, will naturally burn longer. The density of the wax can also affect how quickly it burns.
Wax Types
Different waxes have varying burn rates. Soy wax tends to burn slower and cooler, prolonging burn time, whereas paraffin wax usually burns faster. Beeswax is known for its slow, steady burn.
Wick Sizes
The size and thickness of the wick influence the burn time. A thicker wick burns more wax and thus shortens the candle's life. Conversely, a too-thin wick may not generate enough heat to create an efficient melt pool.
Container Type
The material and shape of the container can affect how the heat is distributed throughout the candle. Some containers may cause the wax to melt more evenly, extending burn time.
Environmental Factors
External conditions like air currents, room temperature, and humidity can impact the burn. Drafts can cause uneven burning and faster wax consumption. At the same time, a stable, warm environment typically allows for a more controlled burn. By adjusting your candle usage accordingly, you can significantly enhance the longevity of your candles.
For instance, placing your candle in a draft-free area ensures a more even burn, while selecting the correct wick size for the candle's diameter can optimize the burn rate.
Choosing a candle based on wax type and container can also tailor your experience to your burning preferences.
4 Common Candle Burn Issues & How To Avoid Them
Candles can sometimes present burning issues that shorten their lifespan and affect their aesthetic and efficiency. Here are a few of the biggies and how to avoid them.
Uneven Burn
Inconsistent burns occur when only one side of the candle wax melts, leading to an uneven surface. To prevent this, ensure the first burn lasts long enough to melt the wax all the way to the edges, creating a full melt pool. Repeat every time you light the candle.
Candle Tunneling
Candle tunneling happens when the candle burns straight down the middle, leaving a ring of unmelted wax around the edges. Like uneven burning, the key to avoiding tunneling is to allow a full melt pool to form during the initial burns. Also, avoid burning your candle for short periods, as this doesn't give the wax enough time to melt evenly.
Soot Formation
Soot can accumulate on the container or be released into the air, often due to a too-long wick or lack of air circulation. To minimize soot, trim the wick to about 1/4 inch before each burn and avoid placing the candle in drafty areas. Rather than blow out your candle, use wick dippers.
Wick Mushrooming
This isn't the fun kind of mushrooms. Wick mushrooming refers to the buildup of carbon on the wick, which looks like a mushroom shape and can lead to excessive flickering and soot. Regularly trimming the wick to the recommended length can prevent this issue.
Advanced Tips for Maximizing Candle Burn Time
To get the most out of your candles, a little extra care and attention can go a long way. Here are some advanced tips to help you maximize candle burn time, ensuring a longer-lasting and more enjoyable experience.
Pre-Burn Preparations
Trimming the Wick - Before lighting your candle, always trim the wick to about 1/4 inch. Wick trimming helps prevent soot buildup and ensures a cleaner burn. A properly trimmed wick also controls larger flame size, reducing the faster rate at which the wax is consumed.
Proper Initial Burn - The first burn is crucial. Allow your candle to burn long enough to let the wax melt to the edges of the container, forming a full melt pool.
Maintenance During Burn
Regular Wick Trimming - Continue to trim the wick before each use to maintain an even burn.
Avoid Drafts - Place your candle in a location free from drafts, as air currents can cause uneven burning and faster wax consumption. A stable environment ensures a steady flame and consistent melt pool.
Post-Burn Care
Proper Storage - When not in use, store your candle in a cool, dry place away from direct sunlight to prevent warping and discoloration of the wax.
Cleaning the Candle - Let the candle cool completely after extinguishing the flame. Then, gently clean any soot from the container's edges with a soft cloth.
Wick Re-centering - If the wick has shifted, gently re-center it while the wax is still soft to ensure an even burn the next time you light the candle.
Two-Wick Soy Candles That Burn 100+ Hours
Explore our collection of long-lasting, 100% pure soy candles, each poured to order by hand right here in Kalamazoo, Michigan. Our candles are crafted with care and precision, ensuring every light brings warmth and longevity to your home.
Experience the difference of a candle made with passion and expertise. Check out our longest-lasting candles ever—two wick soy candles with a burn time of up to 100 hours.


